Moving Small Kitchen Appliances: How to Pack Them?
Moving Guides
Introduction
When it comes to moving, one area that requires special attention is packing small kitchen appliances. These delicate and valuable items need proper care and protection during transportation to ensure they arrive at your new home in perfect condition. St James Self Storage, the leading provider of storage and moving solutions, is here to guide you through the process of packing your small kitchen appliances step by step.
The Importance of Proper Packing
Packing small kitchen appliances properly is crucial to prevent any damages that can occur during the move. These appliances are typically fragile and sensitive to rough handling or sudden movements. By taking the time to pack them correctly, you can avoid scratches, dents, and other costly damages. Additionally, organized packing ensures a smooth unpacking process, allowing you to set up your new kitchen quickly and efficiently.
Step-by-Step Guide: How to Pack Small Kitchen Appliances
1. Gather the Necessary Packing Supplies
Before you start packing, make sure you have all the essential packing supplies on hand. You'll need:
- Sturdy cardboard boxes or appliance-specific boxes
- Packing paper or bubble wrap
- Packing tape
- Box labels and markers
- Moving blankets or towels
2. Clean and Prepare the Appliances
Before packing, thoroughly clean and dry the small kitchen appliances. Remove any food residue and detachable parts, such as blades or trays. Check the manufacturer's instructions for specific cleaning recommendations. Let the appliances air dry completely before proceeding.
3. Disassemble and Secure Loose Parts
If possible, disassemble the small kitchen appliances to make them more compact and easier to pack. Keep all the parts together and secure them either with rubber bands, zip ties, or tape. This will minimize the risk of losing or misplacing any essential components.
4. Wrap the Appliances Carefully
Start by wrapping the appliances in a layer of packing paper or bubble wrap. Pay special attention to fragile parts like glass doors, handles, or control panels. Use additional layers of protection for extra delicate items. If you're using bubble wrap, ensure the bubbles face inward to provide maximum cushioning.
5. Pack the Appliances in Sturdy Boxes
Select sturdy cardboard boxes that are specifically designed for moving or appliance transportation. Place the wrapped appliances inside the boxes, making sure to fill any remaining space with crumpled packing paper or additional bubble wrap to prevent shifting during transit. Label the boxes with the name of the appliance and mark them as fragile.
6. Secure the Boxes and Label Them
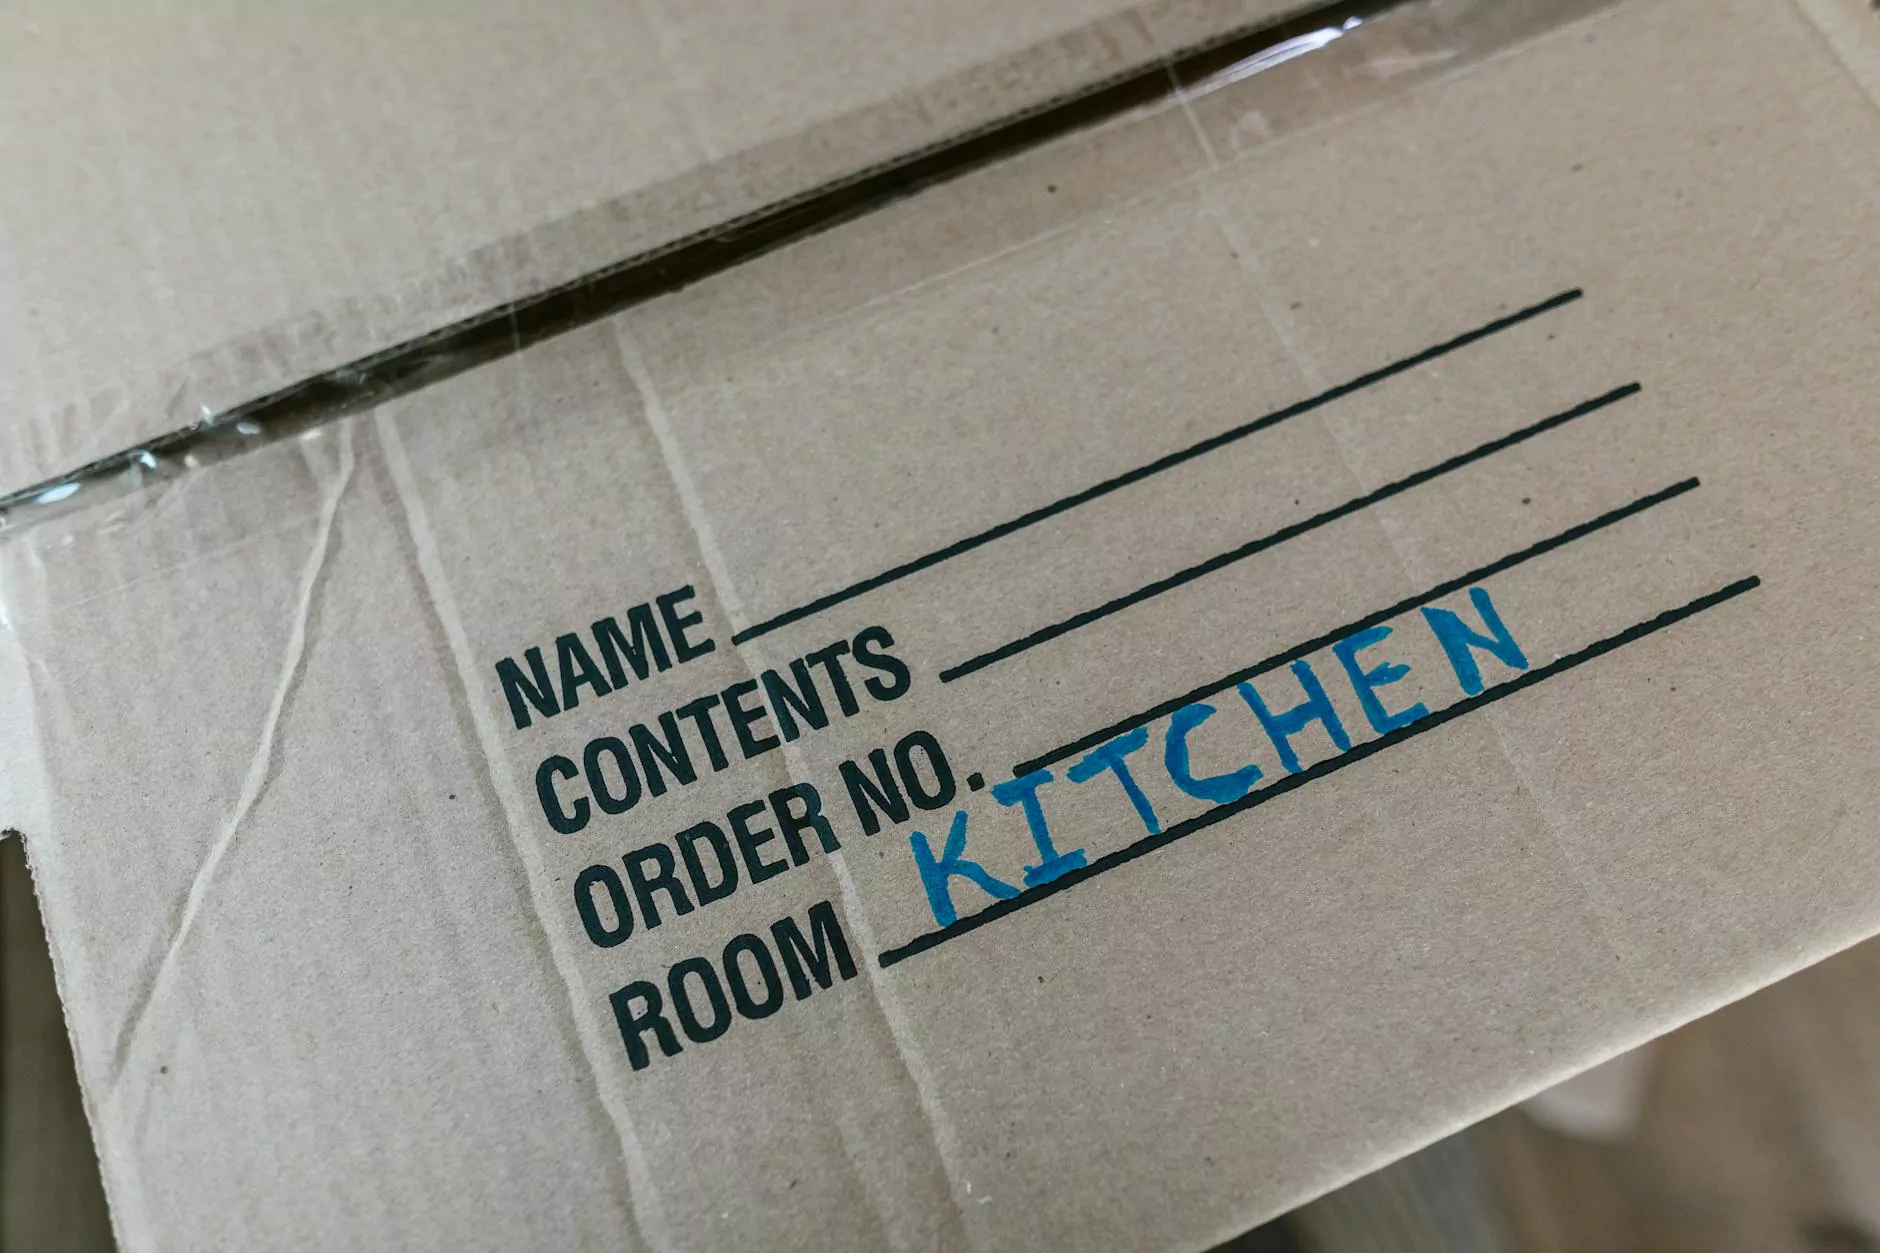
Seal the boxes tightly with packing tape to keep them secure. Label each box clearly, indicating the contents and which room they belong to in your new home. This labeling system will help you and your movers know how to handle each box and where to place it upon arrival.
7. Cushion and Protect the Boxes During Transportation
To provide extra protection during transportation, consider using moving blankets or towels to cushion the boxes. This will safeguard the appliances from any bumps, vibrations, or sudden movements that may occur during the move. Properly securing the boxes in the moving truck is equally important to prevent shifting or falling.
8. Unpacking and Setting Up
When you arrive at your new home, unpack the small kitchen appliances carefully. Inspect each item for damages before plugging them in. Read the manufacturer's instructions for proper setup and usage. Take your time to organize your kitchen, ensuring that each appliance finds its dedicated spot.
Conclusion
Packing small kitchen appliances efficiently is an essential step to ensure a smooth and stress-free move. By following our step-by-step guide, you can minimize the risk of damages and make the unpacking process much easier. Trust in St James Self Storage to provide you with the expertise and support you need for a successful move. Contact us today to learn more about our storage and moving solutions!


