Shooting Star Time Lapse: Capturing the Beauty of Celestial Events
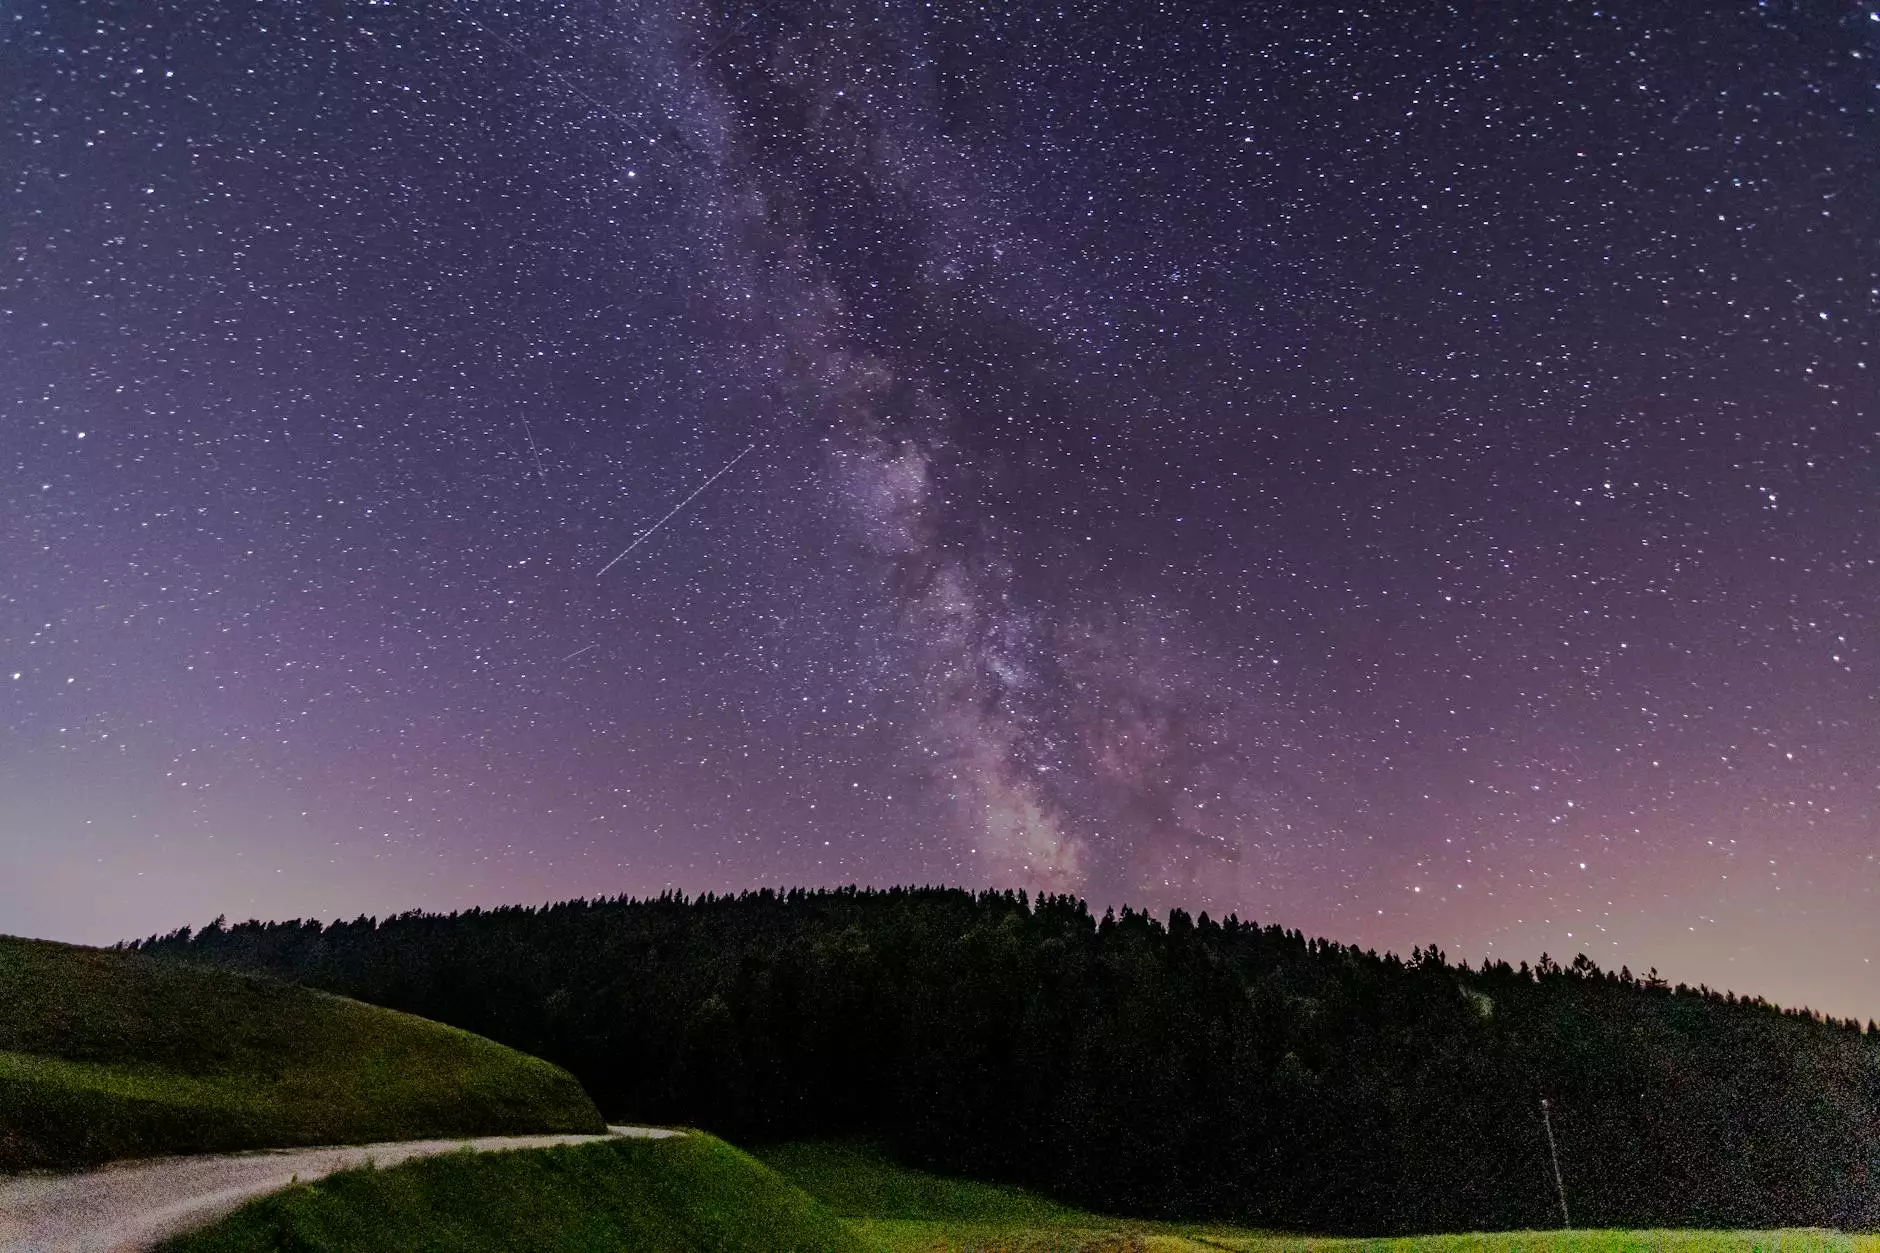
The universe is filled with wonders, and few are as breathtaking as the phenomenon of shooting stars. Also known as meteors, these fleeting lights in the sky create stunning visuals for photographers and nature lovers alike. In this guide, we will delve into the art of shooting star time lapse photography, providing insights, techniques, and tips on how to capture these celestial events in stunning detail.
Understanding Shooting Stars
Shooting stars are not stars at all; they are meteoroids entering Earth's atmosphere and burning up due to friction with air particles. This process creates a bright streak of light that lasts only a few seconds, making them a perfect subject for time lapse photography. Understanding the science behind shooting stars can enhance your appreciation for these ephemeral moments.
The Appeal of Time Lapse Photography
Time lapse photography is a captivating technique that involves capturing a series of images at set intervals over time, which are then played back at a high speed. This technique can create a beautiful visual representation of phenomena that are otherwise too slow or fleeting to observe. Incorporating shooting star time lapse into your photography repertoire allows you to showcase the dynamism of our universe in a way that standard photography cannot.
Preparation for Shooting Star Time Lapse Photography
Equipment You’ll Need
To capture stunning shooting star time lapse videos, you'll need a few key pieces of equipment:
- Camera: A DSLR or mirrorless camera with manual settings is ideal.
- Tripod: Stability is crucial; a sturdy, adjustable tripod will help avoid camera shake.
- Remote Shutter Release: This minimizes vibrations when taking pictures.
- Wide-Angle Lens: A lens with a wide aperture (f/2.8 or lower) will capture more light, ideal for low-light conditions.
- Battery Packs: Shooting time lapse can consume a lot of battery; make sure to have extras on hand.
- Star Tracker (Optional): This can help you track the stars' movement, yielding sharper images.
Choosing the Right Location
Finding the perfect location is vital for stellar photography:
- Away from Light Pollution: Urban areas generate a significant amount of light pollution. Seek a dark area, perhaps a national park or a rural location.
- Clear Skies: Check the weather and plan for clear nights, especially during meteor showers.
- Interesting Foregrounds: Consider including landforms, trees, or buildings to add depth and context to your images.
Techniques for Capturing Shooting Star Time Lapses
Camera Settings
Setting your camera correctly is the key to successful time lapse photography:
- ISO Settings: Start with an ISO between 800 and 3200. The exact setting will depend on the ambient light conditions.
- Aperture: Use a wide aperture (like f/2.8) to allow more light to hit the sensor.
- Shutter Speed: A shutter speed of 10-30 seconds is usually effective, as it captures multiple stars within the frame.
- Manual Focus: Autofocus can struggle in low light; switch to manual focus and set your lens to infinity.
Creating the Time Lapse
Once your camera is set, you'll need to decide how to create your time lapse:
- Interval Shooting: Set your camera to take an image every few seconds. Typical intervals can range from 5 to 20 seconds, depending on how much action you expect in the sky.
- Record for Hours: Plan for a long shooting session, potentially several hours, to capture the best meteor activity.
Post-Processing Your Time Lapse
After capturing your images, it’s time to bring them to life:
Importing and Sorting Your Images
Start by importing your images into your preferred photo editing software. Sort and select the best images based on clarity and composition.
Editing Techniques
Consider applying the following editing techniques:
- Color Correction: Adjust the color balance to enhance the night sky's vibrancy.
- Noise Reduction: Remove noise caused by high ISO settings to ensure a cleaner final video.
- Stabilization: Use stabilization tools if your images are shaky.
Creating the Final Video
Using video editing software, compile your still images into a video format. Set the playing time per frame to create the time lapse effect. Aim for a frame rate of 24-30 FPS for a smooth playback experience.
Sharing Your Work: Maximizing Exposure
Once your shooting star time lapse video is complete, it’s time to share it with the world. Here are some strategies to maximize exposure:
- Utilize Social Media: Platforms like Instagram, Facebook, and TikTok are ideal for sharing visual content.
- Create a YouTube Channel: Share your time lapse videos on YouTube to tap into a larger audience.
- Join Online Communities: Participate in photography forums and groups focused on astrophotography.
- Collaborate with Other Artists: Collaborations can help broaden your audience and introduce your work to new viewers.
Conclusion: The Magic of Shooting Star Time Lapse
Shooting star time lapse photography encapsulates the beauty and wonder of our universe in ways that remind us of the celestial events happening above us. By understanding the science of shooting stars, preparing with the correct equipment, utilizing effective techniques, and sharing your finished masterpieces, you can master this incredible form of photography. With determination and practice, you’ll be able to capture the magic of the night sky and share it with the world, inspiring others to look up in wonder.
Explore More with Bonomotion
If you are looking to dive deeper into the world of photography, visit bonomotion.com. Our dedicated resources within the categories of Photography Stores & Services, Photographers, and Real Estate Photography provide valuable insights and services to help you enhance your photographic journey. Let's embark on this cosmic adventure together!